Visit Heritage Park
1900 Heritage Dr. S.W. Calgary, Alberta, Canada T2V 2X3
Email: info@heritagepark.ca
Phone: 403.268.8500
Monday
10:00 am - 5:00 pm
Tuesday
10:00 am - 5:00 pm
Wednesday
10:00 am - 5:00 pm
Thursday
10:00 am - 5:00 pm
Friday
10:00 am - 5:00 pm
Saturday
10:00 am - 5:00 pm
Sunday
10:00 am - 5:00 pm
Heritage Park is located on Treaty 7 territory where we respect the deep, historical connection to this land by the Blackfoot (Kainai, Siksika, North and South Piikani), Tsuut’ina, Îyârhe Nakoda and Métis.
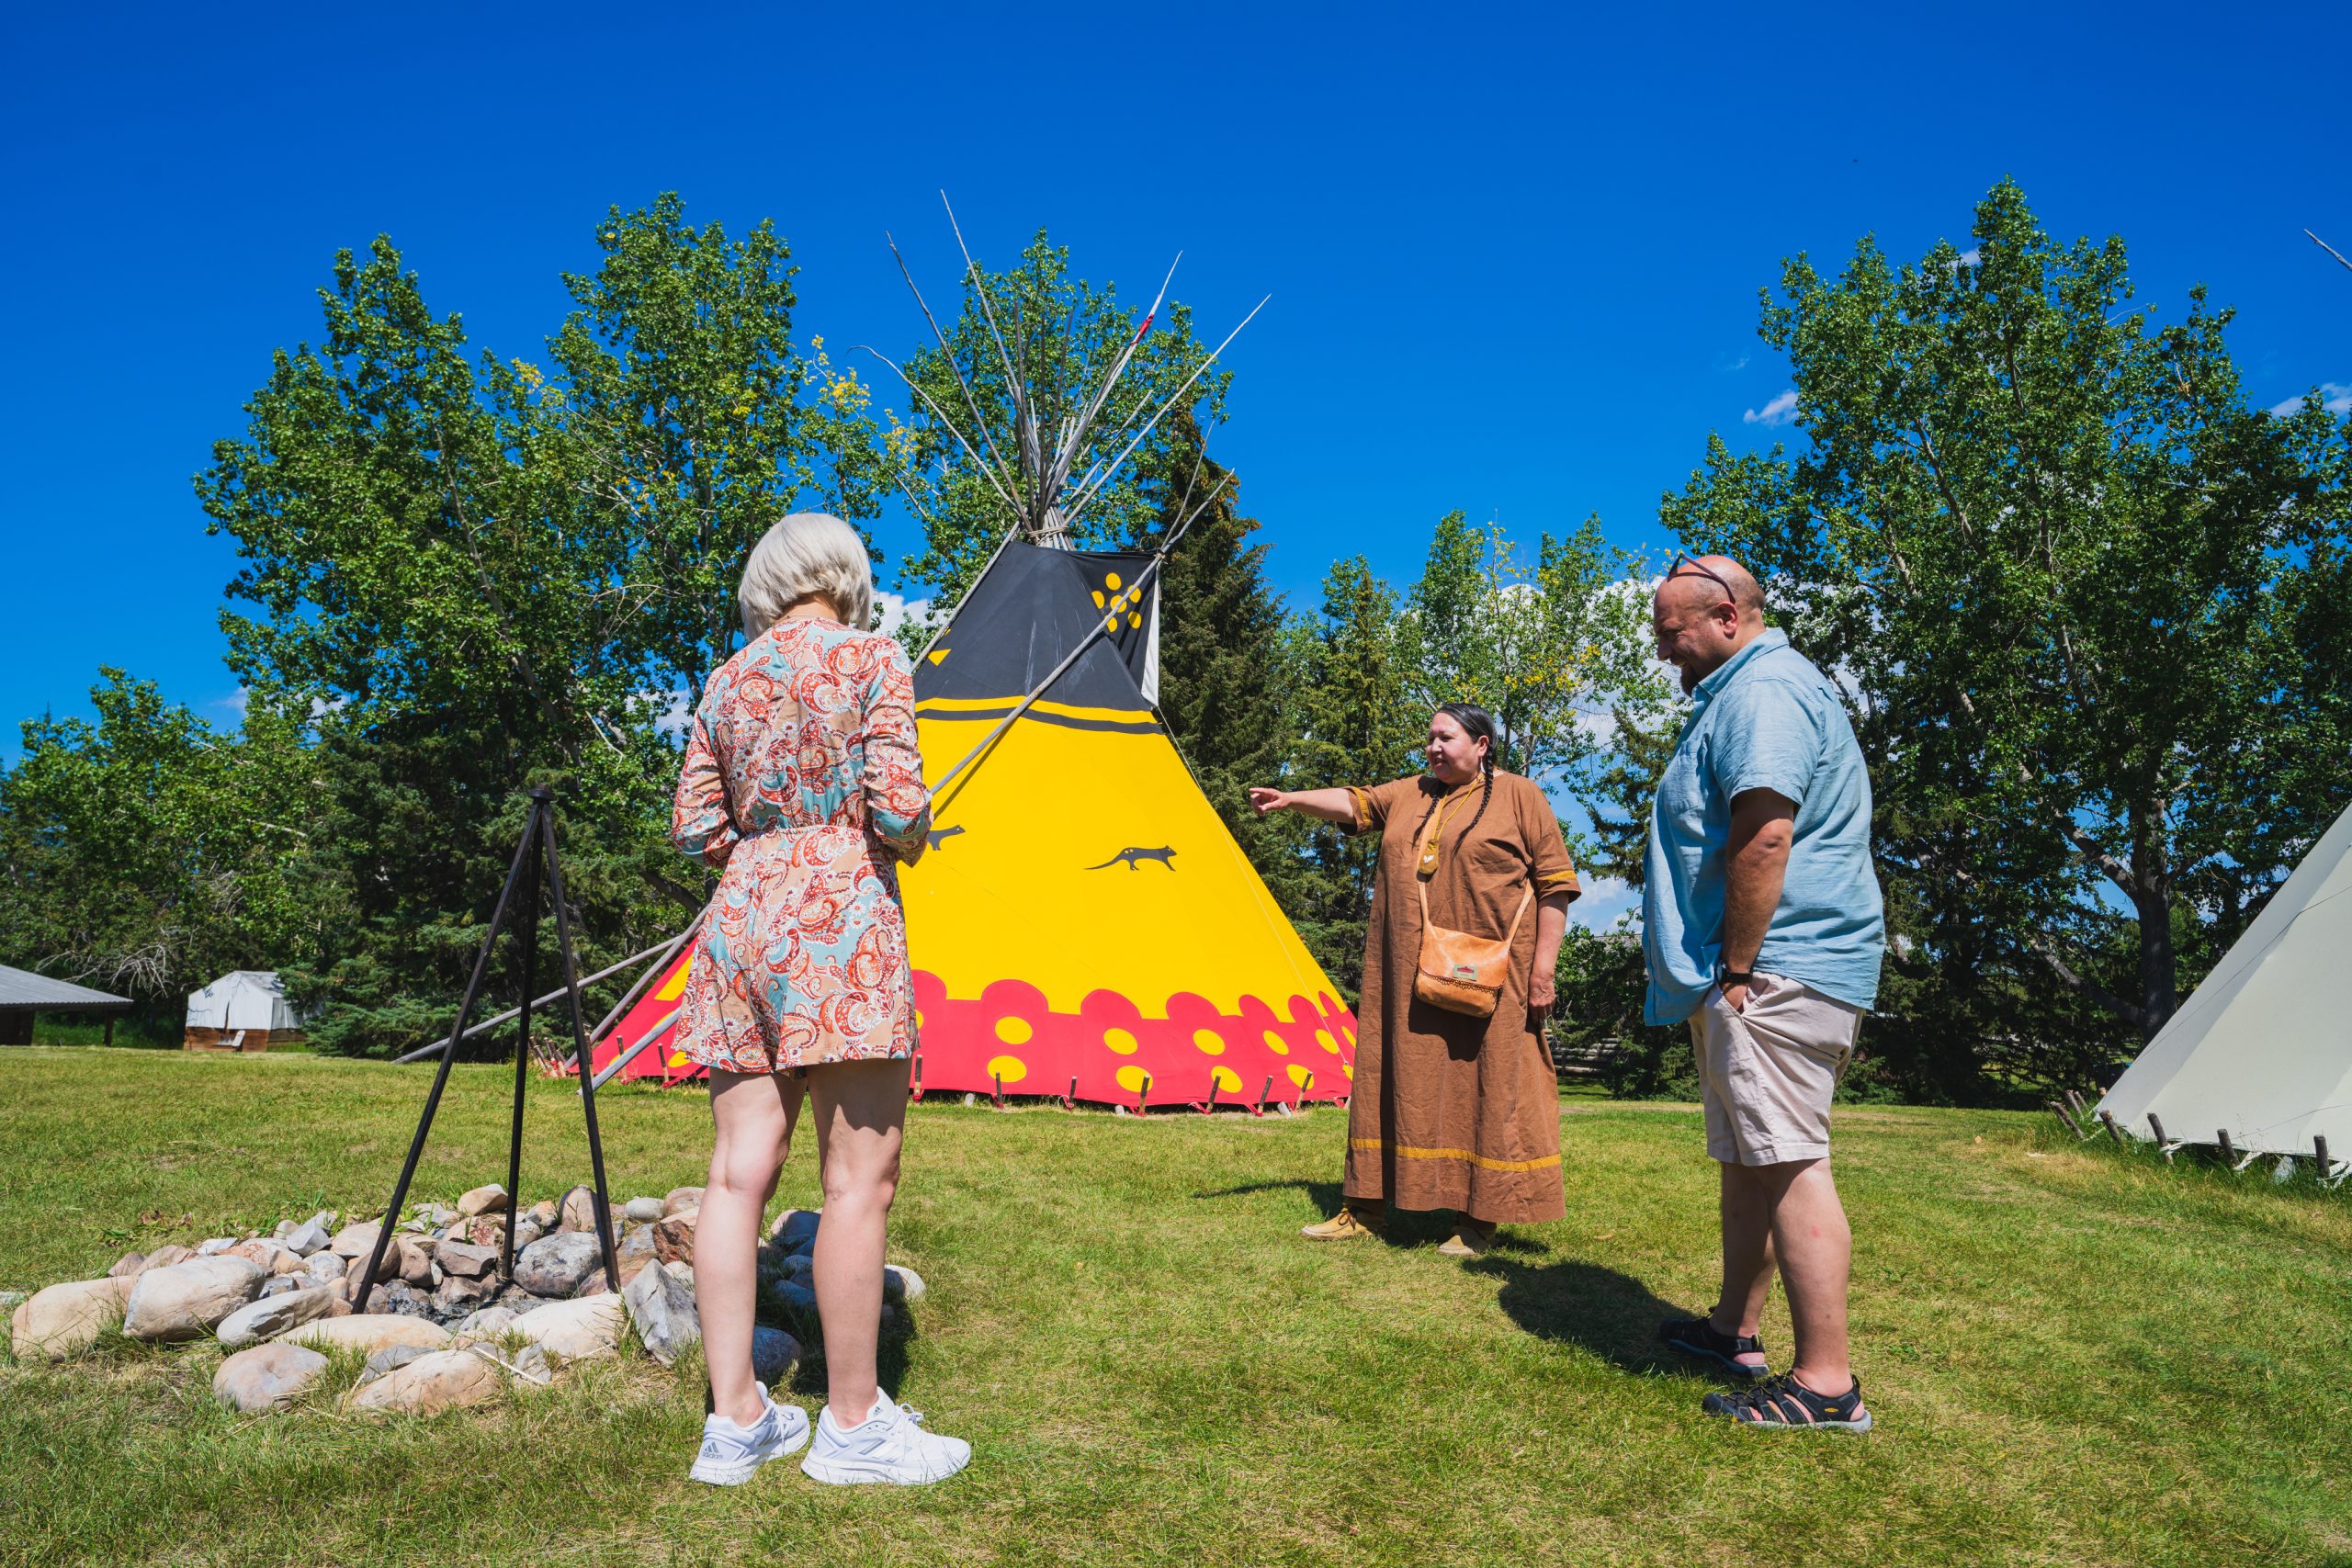
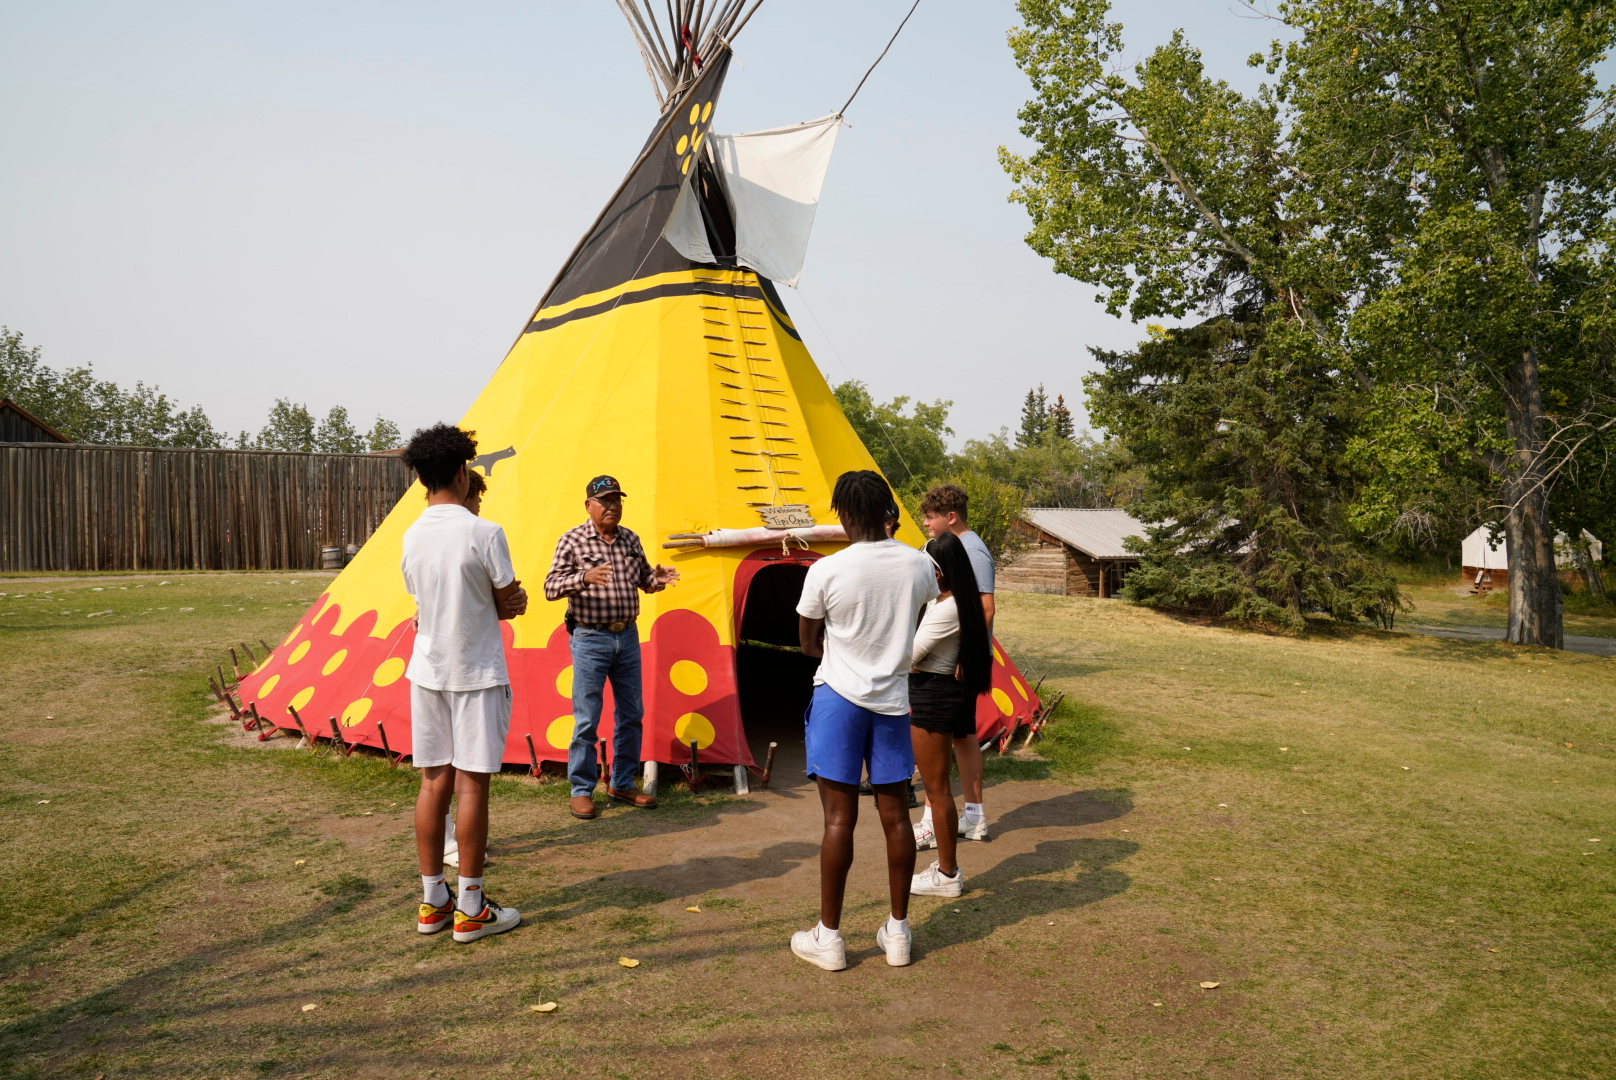
This is a place where visitors come to learn about the history of all those who have gathered here, and where Indigenous nations proudly share cultural traditions and tell stories about their rich heritage, history and attachment to the land.
Tipis, the dwelling of the Indigenous people for thousands of years, have stood the test of time as part of our shared history in Alberta.
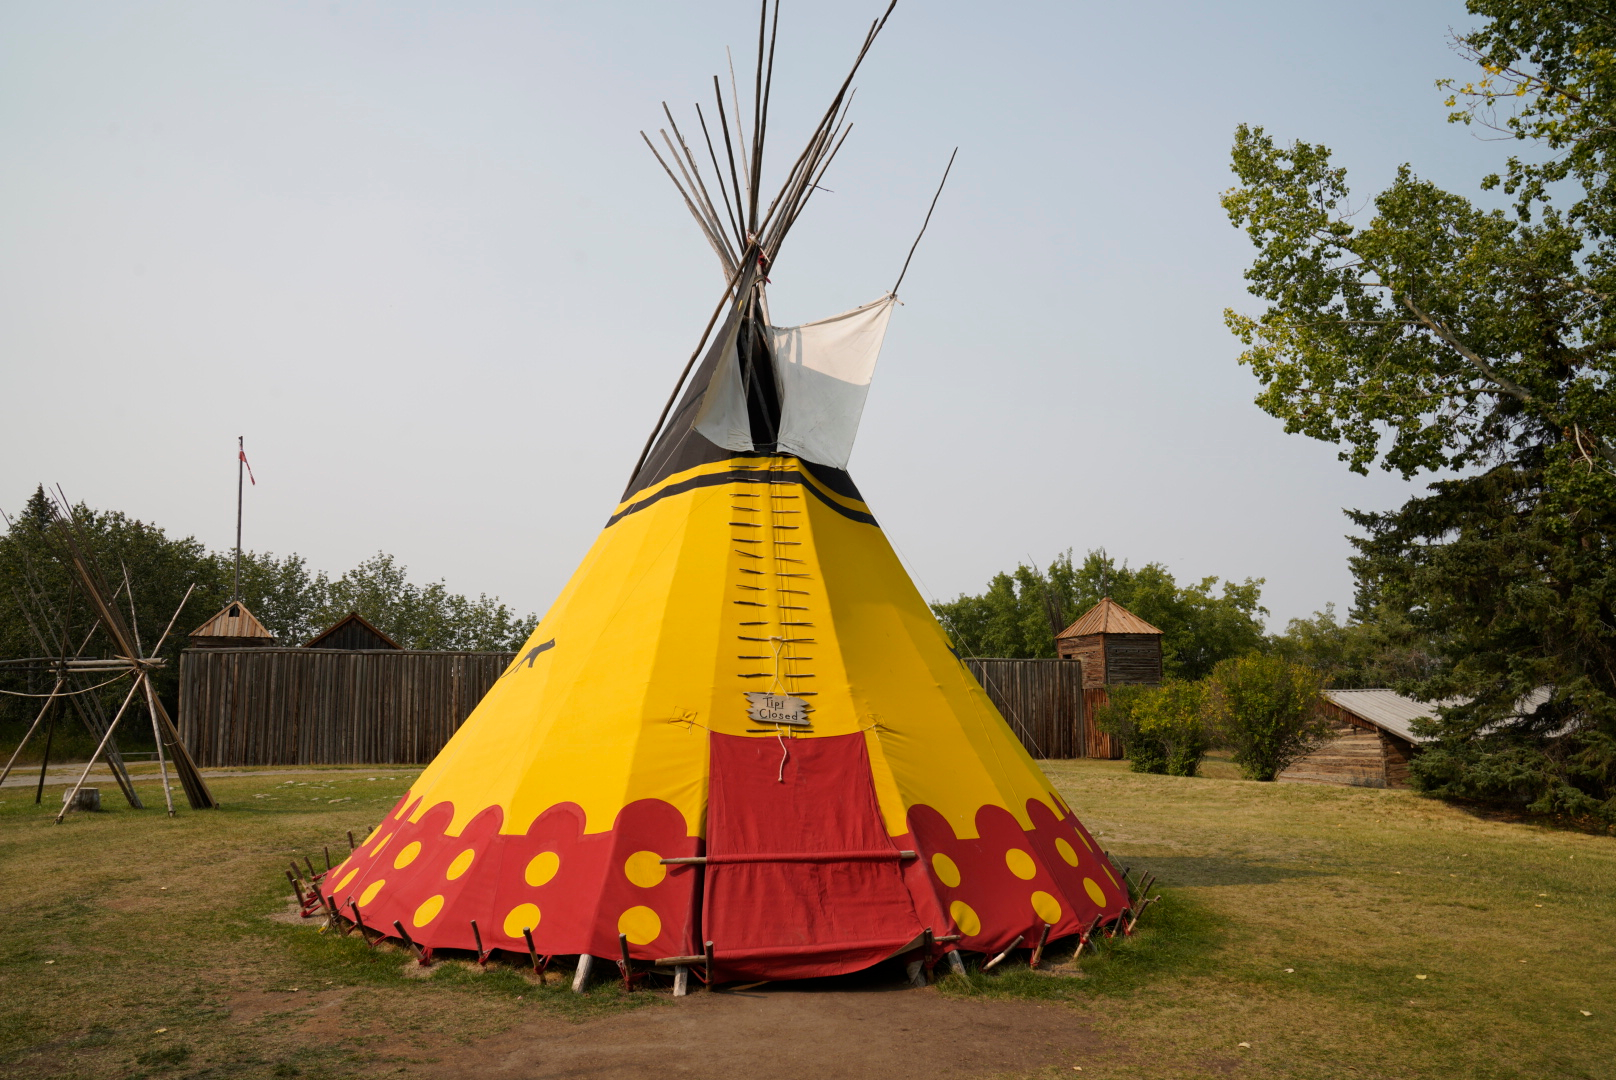
Prior to the invention of pickets that hold the tipi to the ground, rocks were used in place of pickets that were left at campsite that formed the tipi rings we see today. The door opened to the east where the least amount of elements came from. Allowing the ear poles to be manipulated to manage temperature of the tipi. Based on the pole placement and ear poles connection to the material the home would be identified by Nation. Plain non-painted tipis coverings provided a home for members of the tribe. Painted tipis like the Yellow Otter Tipi connect to the Oral Traditional laws and practice for a tribe.
Tipi owners/holders have a shared responsibility by a male and a female. The women maintained and set up the tipi or the home, however today both genders set up the tipi. It took less than an hour for two women to put up a tipi. Today, a well-skilled team of four can set up a tipi in half an hour.
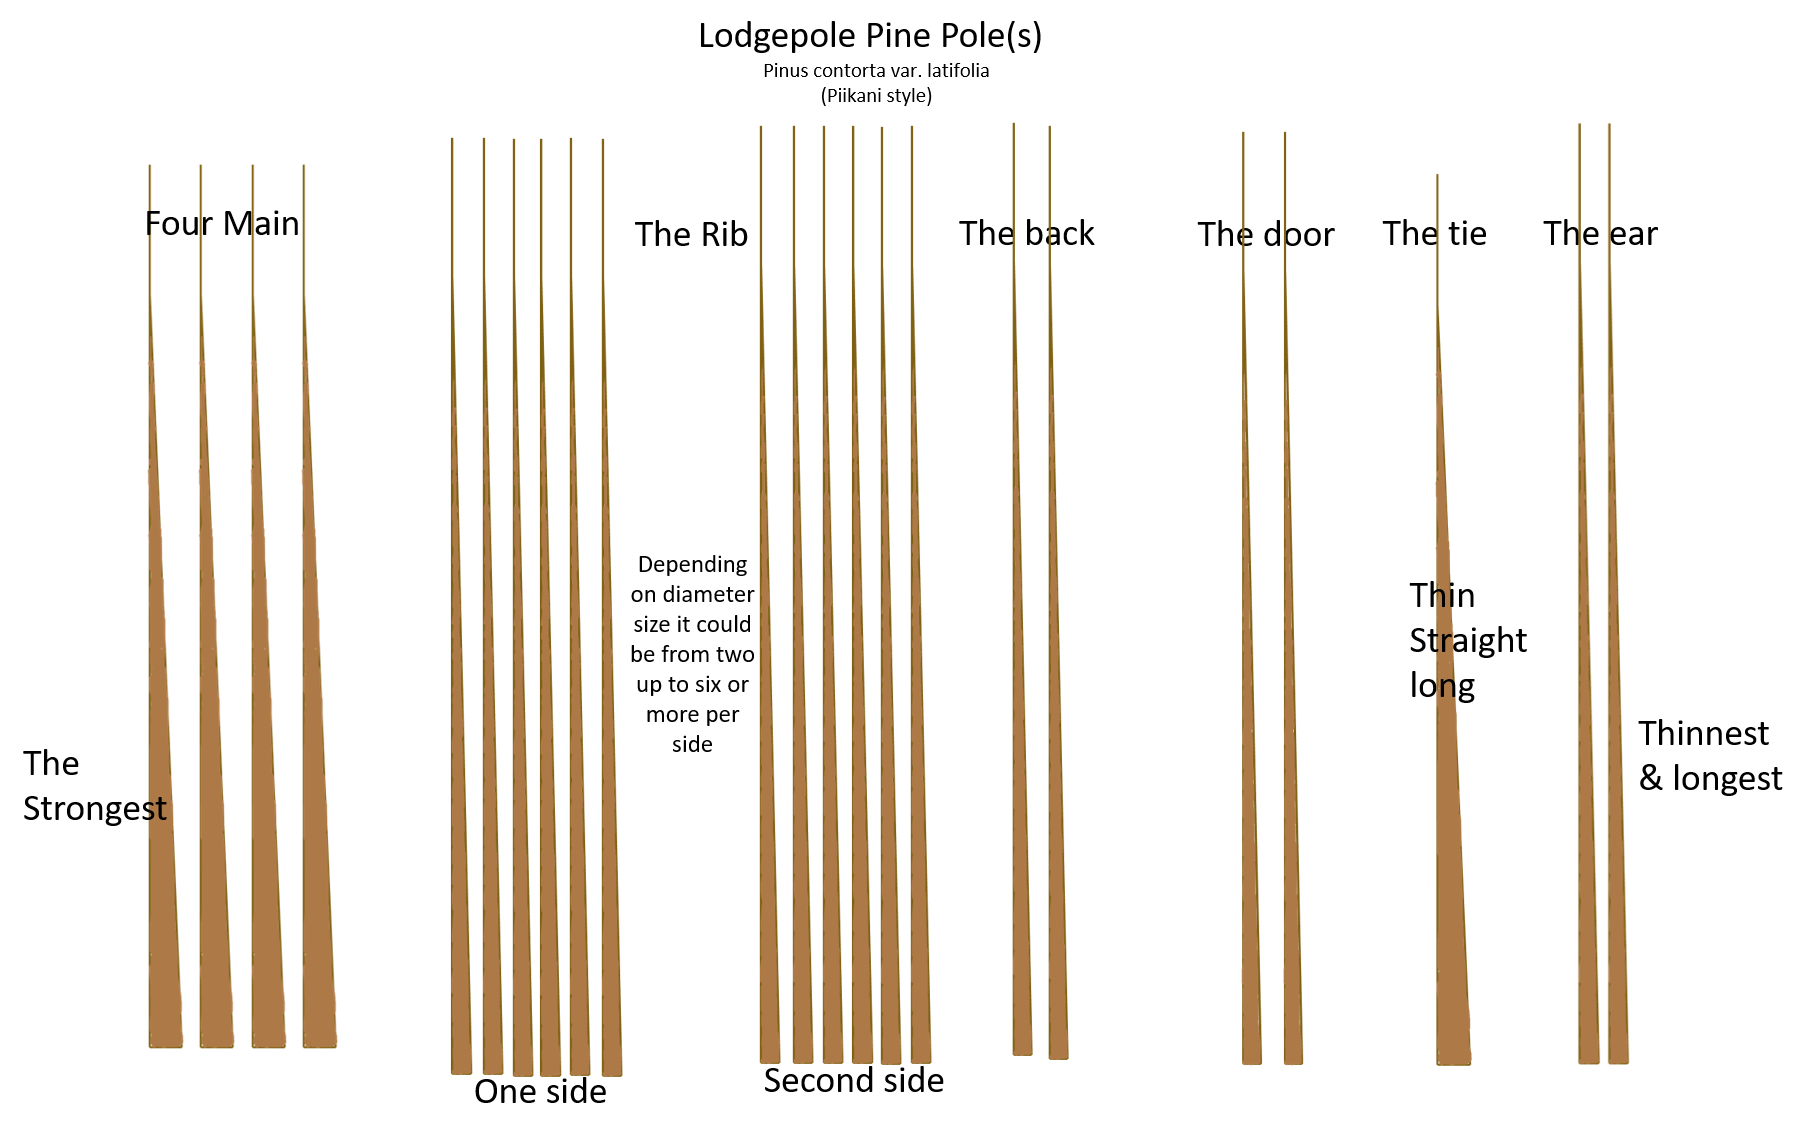
To set up a tipi, you start by laying out the tipi covering, placing the four main poles on top, measuring the poles to the tipi covering and tying the main poles together. Before raising the main poles the tipi covering is removed.
The four thickest and strongest poles make up the four main. Then more poles are leaned against the main poles that provide support to the back, sides and front. The tie pole along with the tipi covering is the last pole to lean on the original four main poles. The covering is gathered and measured to the tie pole, hoisted up and spread out over the tipi poles. The tipi covering is wrapped around the poles and tied and buttoned up to form the asymmetrical cone shape.
At the front of the tipi, the covering is fastened closed with wooden pins sometimes known as buttons, and the covering is secured to the ground using wooden pins sometime known as pickets. Two long poles also known as ear/flap poles are inserted into two small holes in the smoke flaps of a Blackfoot style covering.
A door was fastened to the covering. This door also aided in smoke management. By moving the two ear/flap poles, the smoke hole could be opened, closed or directed to block the wind or not take advantage of the breeze. Fresh air would be drawn in from under the bottom edges of the covering.
Tipis were originally made from buffalo (bison) skins sewn together with sinew and stretched over a framework of slender poles. The poles were made from lodgepole pine. Since tipi poles are not abundant on the plains, the poles remained at campsites and if a tipi pole became old or broken upon the following year a new pole would be brought back to this specific camp. During the 1870s, canvas tipi coverings became common as the buffalo disappeared and manufactured goods came into Western Canada.
The asymmetrical cone shape of the tipi was no accident. The door always faced east to allow morning prayers to travel toward the rising sun while the steeper backside deflected the prevailing west winds. The greater slant on the front also gave more headroom in the rear of the tipi. The internal liner on some tipis served many purposes as well. It insulated the tipi during cold weather and helped waterproof it. The tipi’s design illustrated the occupants’ family history and nature laws of the land.
Indigenous people moved camp seasonally, mirroring the cycle of the Bison/Buffalo. From sheltered winter camps, known as clans, to the open prairie, clans within bands made up of several families travelled and lived together. Vast encampments appeared in summer and fall as many clans within bands would gather to celebrate the Sundance or to participate in a buffalo hunt.
Throughout the prairies, old campsites can be identified by circles of stones called tipi rings. Gatherings help shape the Indigenous people of this land to go beyond the telling of a story to action and movement in celebration.
1900 Heritage Dr. S.W. Calgary, Alberta, Canada T2V 2X3
Email: info@heritagepark.ca
Phone: 403.268.8500